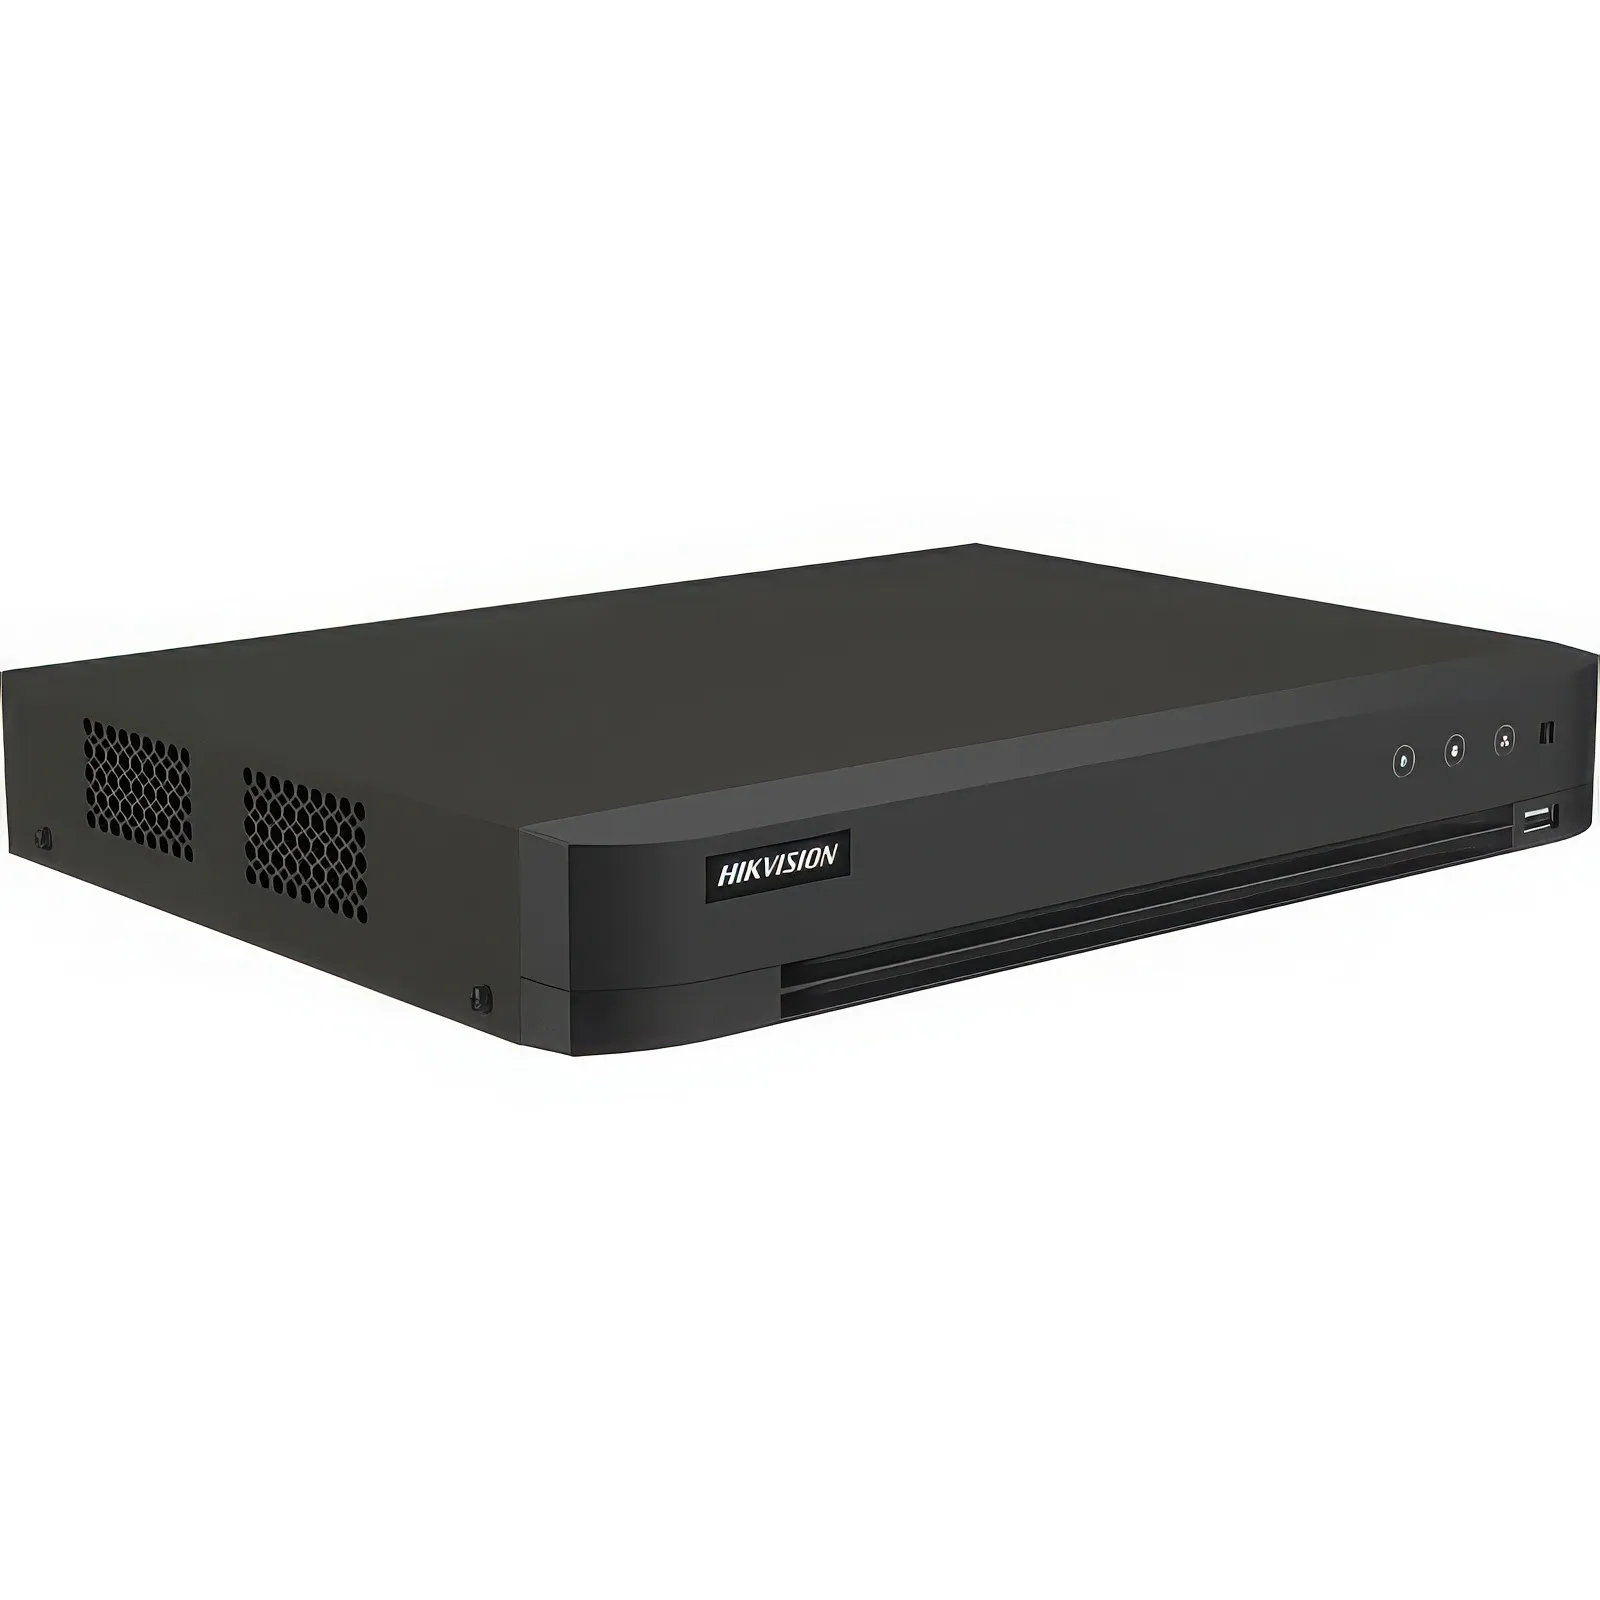
Installing a DVR CCTV camera system is an effective way to secure homes, offices, shops, and warehouses. With proper planning and correct installation, a Digital Video Recorder-based CCTV system can provide reliable video recording and monitoring. This step-by-step guide explains how to install a DVR CCTV camera system professionally and safely.
What You Need Before Installation
Before starting the installation, make sure you have the following items:
DVR (Digital Video Recorder)
CCTV cameras (indoor or outdoor)
Hard drive (compatible with DVR)
Power supply and adapters
Coaxial or video cables
Monitor or TV
Mouse for DVR control
Internet connection (optional for remote viewing)
Drill and basic tools
Step 1: Plan Camera Locations
Identify the areas that need monitoring such as entrances, exits, hallways, parking areas, and cash counters. Cameras should be installed at a height that provides a clear view while preventing tampering. Avoid placing cameras directly facing bright light sources.
Step 2: Install the Hard Drive in the DVR
Open the DVR casing and install a compatible hard drive inside. Secure it properly and connect the power and data cables. The hard drive is required for video recording and playback.
Step 3: Mount the Cameras
Fix the cameras at the selected locations using screws and brackets. Ensure outdoor cameras are weather-resistant and protected from direct rain and sunlight. Adjust the camera angle to cover the desired area.
Step 4: Run and Connect the Cables
Run video cables from each camera to the DVR location. Connect:
Camera video cable to DVR video input
Camera power cable to the power adapter
Keep cables neatly arranged and protected from damage.
Step 5: Connect DVR to Display
Connect the DVR to a monitor or TV using HDMI or VGA cable. Plug in the mouse to control the DVR menu.
Step 6: Power On the System
Turn on the DVR and cameras. Make sure all cameras appear on the screen. If any camera does not display video, check its cable and power connection.
Step 7: Configure DVR Settings
Access the DVR menu and set:
Date and time
Video resolution
Recording mode (continuous or motion detection)
Storage settings
Format the hard drive before starting recording.
Step 8: Set Motion Detection (Optional)
Enable motion detection for selected cameras to save storage space. Adjust motion sensitivity and detection areas according to your needs.
Step 9: Connect DVR to Internet (Optional)
If remote viewing is required:
Connect the DVR to a router using a LAN cable
Enable network settings in DVR
Install the DVR mobile app
Scan the QR code or add the device manually
This allows live viewing and playback on your mobile phone.
Step 10: Test the System
Check live video, night vision, motion alerts, and recording playback. Make sure all cameras cover the correct areas and recordings are being saved properly.
Maintenance Tips
Clean camera lenses regularly
Check cables and connections monthly
Keep DVR firmware updated
Ensure proper ventilation for DVR
Final Thoughts
Installing a DVR CCTV Camera system is a practical and cost-effective security solution. By following this step-by-step guide, you can ensure proper installation and reliable performance. For larger properties or complex setups, professional installation is recommended.